Share This
Helping Us Build Our EBCS Pro Map Database
Over the years we have gotten hundreds of requests for custom PERRIN maps which are setup to use our EBCS Pro (Electronic Boost Control Solenoid). From time to time we have offered custom mapping to customers that asked but we are taking this a step further and trying to offer this service to all customers. In order to create a map for your car that works with the EBCS, we require some data from your car under full throttle conditions. After we look at this data we make changes to your map, we then require you to be able to flash the map and redo the full throttle test. Below are some instructions for those not familiar with the data logging process we require to create these maps.
Why Would I Need a Datalog?
Why would we ask you for a Datalog? When tuning the EBCS Pro, it requires that the wastegate duty cycle (the parameter used to control boost) is adjusted perfectly to the parts installed on your car. There is a narrow window of operation for this to work perfectly and we need to see how our map works with your exact setup. Using the AccessPORTs datalogging features allows us make changes to your map, and see the effect it has on your car. This sometimes can take 3 or 4 times of datalogging, then us creating a map, then having you datalog the car again.
How Do I Make A Datalog
- Simply plug in your AccessPORT to the OBD port, scroll to the Monitor icon and press the OK button.
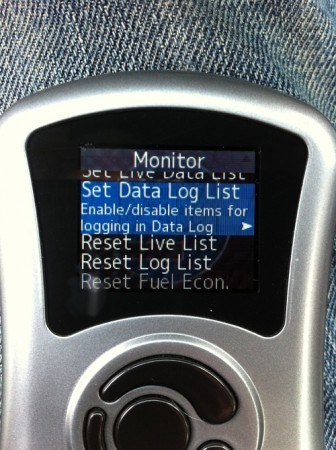
- Scroll down to where Set Data Log List is, and press the OK button. This will display all possible data that can be logged.
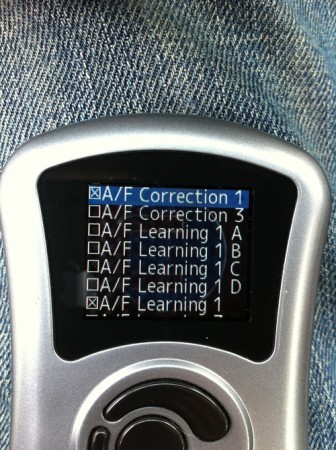
- Simply check or uncheck the data you wish to view. When you are done press the back button and save the data to be logged.
- By default Cobb checks off some of the important things we need to see. If you have changed this please make sure you set it up the way we describe in later steps. So please only pick the data we ask you to or leave it set to default, as this will give you the highest quality datalog possible.
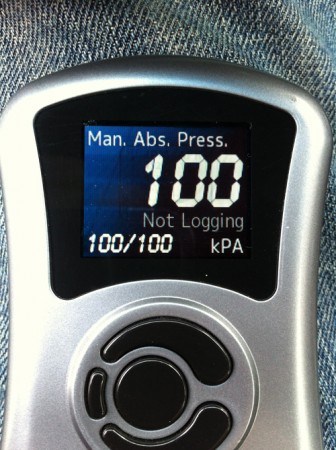
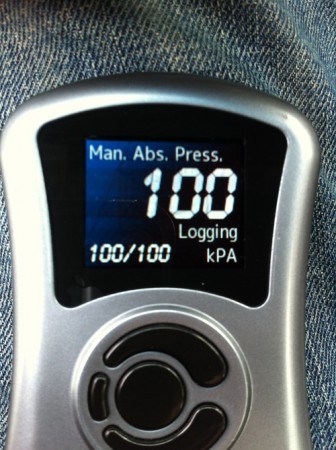
- Once data is selected you can start logging by going to Live Data, bring up any parameter, then click the OK button. You will see "Initializing" at the bottom of the display then "Logging".
- When you are done logging you simply click the middle button! This then saves the log onto your AccessPORT which can later be removed and emailed to us using the AccessPORT Manager software. Removing the log will be explained further down the page.
- Keep in mind that every time you create a datalog, the AccessPORT saves a new file. For instance, the first time you create a log, it saves it as Datalog1.csv. Then the next one is Datalog2.csv and so on. This allows you to to make more than one while driving your car and keep track of them when you remove them from the AccessPORT.
What Do You Need to Data Log?
As we briefly mentioned before, logging too much data can effect how accurate the data is. This happens because the data from the ECU can only be collected so fast. If you ask the AccessPORT to collect too much data, its causes the log to run slower. Example, you ask it to log 1 thing you will get 20 samples of this each second. Which provides excellent data for us to help tune your map. If you ask the ECU for 20 things you may only get 1 sample a second, and while this sounds ok and its not enough to do a proper tune for your EBCS Pro. So please only pick the parameters we tell you to.
EBCS Pro Boost Control Related Parameters to Log
- Engine Speed
- Boost (Manifold Relative Pressure)
- Wastegate Duty Cycle
- Throttle Position
- Requested Torque
- Intake Air Temp
- Calculated Load
- Ignition Timing
- Feedback Knock Correction
Runs needs to be in 3rd or 4th gear starting at 2000 then floor it and take rpm as high possible not exceeding speed limit. Roughly 10 seconds of recording time. No full throttle running through the gears.
Did I Make a Good Log
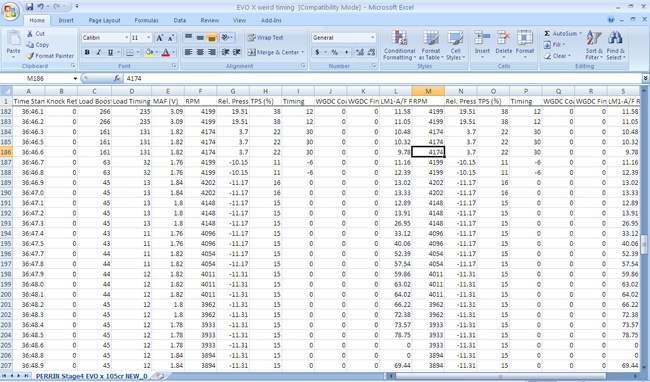
The key to a good log is smoothness, consistency and time. If you can have a smooth foot (when flooring or cruising around) this helps make tuning easier. If you are constantly wavering up and down during the runs its hard for us to figure out what is going on. A constant pedal, or slowly moving up or down pedal, makes our job much easier. Consistency in runs is also important. Use the same gear the same road or same basic conditions. If you do your runs at 32 degrees in the morning then its 80 later in the day that is going to make runs inconsistent. Picking the same road or hill also helps us with tuning. If you are going down on a run then up, and we are trying to make your boost better it will affect the load and in turn affect our tune. Lastly is time. The AccessPORT can hold many minutes of logging, but short datalogs are much easier to look at. If you can start the datalogging about 10 seconds before your full throttle runs, then stop it 5 seconds after your are done with them, it makes for a perfect clear datalog. If you must drive the car for 30minutes before being able to do the runs, make sure and stop the datalogging after you complete the runs. Then we can look to the end of the run for the data we need.
It all comes down to you driving your car as though it was on a dyno where things are consistent and repeatable. The closer you can get to this (without breaking speed limits) the better.
Send Us Your Log
In order to send us your log you created, you need to pull it off our AccessPORT. To do this you use the same software that you use to update your AccessPORT, the AccessPORT Manager program.
- After its installed, open the AP Manager program and plug your AccessPORT into the computer, and verify the software connects to your AccessPORT. If it doesn't automatically do this, click the connect button at the top of the program.
- Click on the "Manage" button. You may see some other maps, or data logs, or other files as shown below. To narrow what you see, you can use the drop down "Filter Menu" and have it show only the datalogs.
- The simplest way to get the Datalog from your AccessPORT to your computer is to drag and drop it onto the desktop f your computer. An alternative way is to highlight the file or files, and click on the "Save To Computer" button. Then choose a place to save it on your computer.
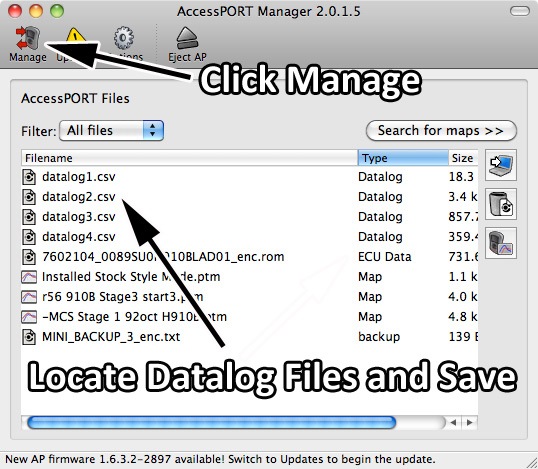
- Because the AccessPORT doesn't label the logs with your map it helps to rename the file to something that makes sense. Example is if you ask for help with over boosting, rename it "08STIoverboost3rdgear.csv". Once you have the Datalog somewhere on your computer you can rename it at anytime.
- Open up your email program and compose a message with attached map. Make sure to include your name, car, complete list of parts installed, and exact name of map being used.
- Make sure and send your email to [email protected]. Once we get it, expect roughly 24hours before we get back to you with a new map or with questions about your datalog.
Install Your Custom Map
Once we get back to you with a new updated map, you will need to put this on your AccessPORT and Reflash your car. Below are some instructions on how to do that.
- Open AP Manager program and plug your AccessPORT into the computer. Verify the software connects to your AccessPORT, if it doesn't automatically do this, click the connect button at the top of the program.
- Check to see if your AccessPORT needs to be updated. If it does, update the AccessPORT before loading the new custom map.
- Open up your email program and the message with the attached custom map. The best way to save the map from your email program is to "Save As" and if the option comes up to select file type, choose "All File Types". This ensures that the file gets saved properly and will work on your AP. For ease of installation, it is best to save the map on your PC's Desktop. If you can't find the email, check your JUNK folder.
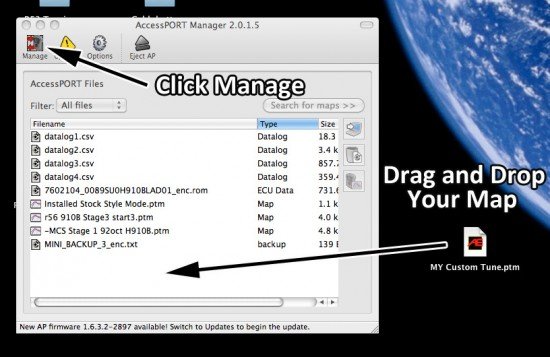
- Open the AP Manager Program, and click on the "Manage" button. You may see some other maps, or data logs, or other files as shown below.
- The simplest way to get the map from your computer is to drag and drop it into the AP Manager program. An example is shown below where the custom file was previously saved to the desktop.
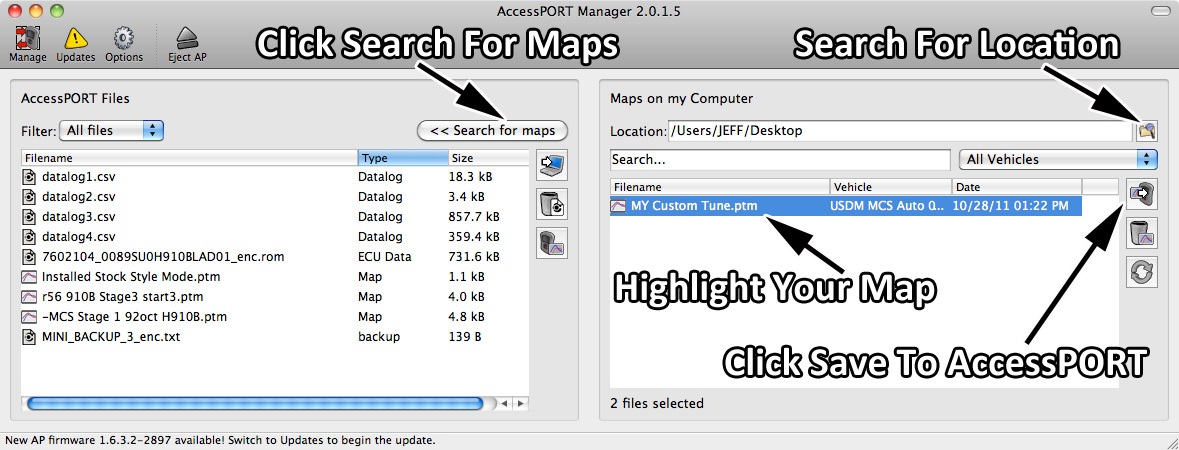
- Another method is to click on the "Search For Maps" button, which brings up a window on the right. In this window, click the "Search For Location" button and locate your map.
- Once your map appears in the lower box, highlight the map, and click the "Save to AccessPORT" button. Your map will now show up in the left side of the AP Manager indicating its now on your AccessPORT.
- If you choose to, now is a good time to delete maps that you may not use. For instance, if you live where there is only 91 octane, you can delete all the 92 octane maps. Or if your car is a Stage 1, you can get rid of the other stages. This makes it a little easier to find your map while loading them onto your car.
- After your map is loaded onto the AccessPORT, disconnect it from software by clicking on the EJECT button in the AccessPORT manager program. Now you can physically remove the AccessPORT from your PC.
- With AccessPORT loaded with custom map, you are now ready to plug it into vehicle and reflash it. In all instances with any PERRIN map, we require you to "Reflash" the map, not "Real-Time Flash" the map.
- Locate the OBD port on your vehicle and plug the AccessPORT OBD cable into it. This is located under the dash on the drivers side of vehicle. Plug OBD cable into rectangle connector on AccessPORT. Pictured below is an older style OBD cable used on AccessPORT's. These OBD cables consisted of a "Dongle" (grey OBD connector) and a swivel style USB cable. These still get plugged into the OBD port but the smaller end of the USB gets pluged into the back of the dongle, and the other end of the USB gets plugged into the AccessPORT.
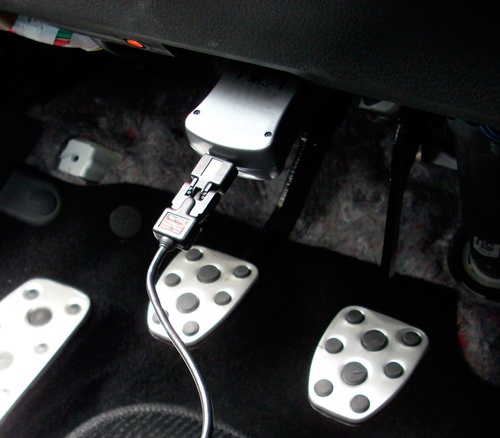
- For all 2008+ cars (with CAN Bus ECU's) Place key into the ignition and turn to the ON position (do not start engine). A good indicator that the car is on, is to look at the gas gauge. If the gas gauge is illuminated then the key is in the "On" position. Sounds like a simple thing to do, but 90% of the time a customer calls because the AccessPORT doesn't work, its because the key wasn't in the "ON" position. Make sure that the radio, lights, Heater/AC controls and all accessories are turned off and battery is fully charged before flashing ECU.
- For all 2002-2007 WRX/ STI's, located green test connectors under dash and connect them. These are normally hidden up inside of dash on drivers side of car, directly above the hood latch. Once connected place key into the ignition and turn to the ON position (do not start engine). Make sure that the radio, lights, Heater/AC controls and all accessories are turned off and battery is fully charged before flashing ECU.
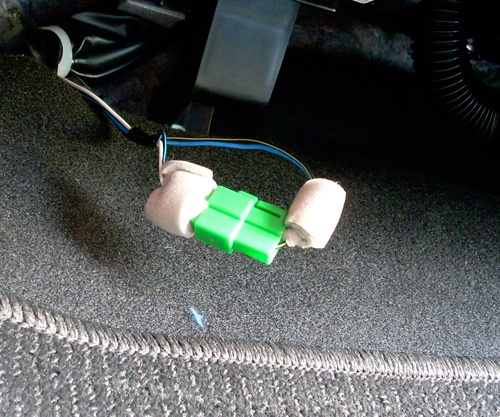
- Press the "Enter" button when your AccessPORT shows the "Install" screen. Verify your car matches the described vehicle on the screen. SPECIAL NOTE: If the AccessPORT doesn't recognize your car, please follow the instructions in the "Save My ECU Data" below.
- Follow the on screen directions until you are asked to pick what map to install. Pick the custom PERRIN map we emailed to you. Clicking on the map one time, will show a larger description for the map., which will help determine if this is the correct map.If you have questions about this, or haven't seen your map, give us a call so we can help you ASAP.
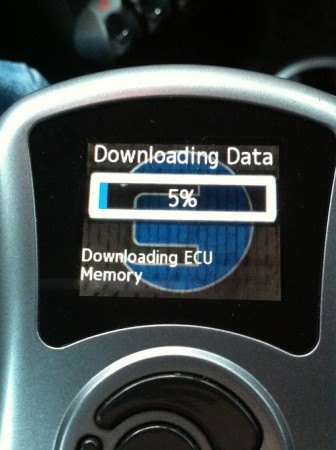
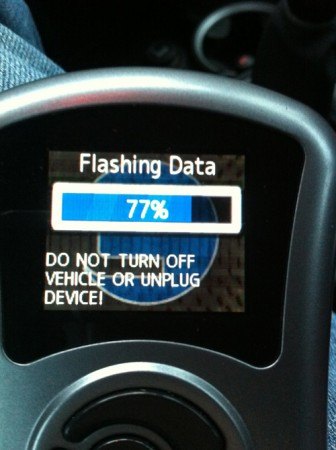
- The AccessPORT will first save your ECU data, then it will continue with flashing the custom map onto the ECU.
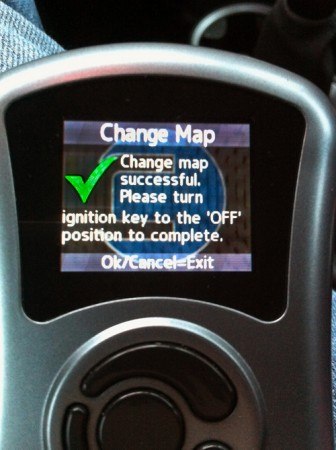
- When the AccessPORT is done installing your custom map, turn key to the off position, disconnect the AccessPORT from the OBD port. (02-07 WRX/STI's need to disconnect green test connectors)
- Turn key to the on position, and wait for 5 seconds for the ECU to reboot. Then start the car and take car for test drive.
- When possible, start data logging and do a few full throttle runs as described earlier (2000RPM 3rd or 4th gear full throttle runs).
- Start the process all over again by sending us the datalog via email and we will analyze this to ensure its working properly. If its not we will send you new maps to test until the map performs correctly.


