Share This
So how does a SEMA car come together? The first thing is coming up with a design for the car, then trying to execute the idea so the car comes out the way you had envisioned it. Execution is the tough part because it involves many people and other companies suppling part. Add to that, most all the parts going on the car end up being brand new parts that may not be ready until the last moment. That is the killer!
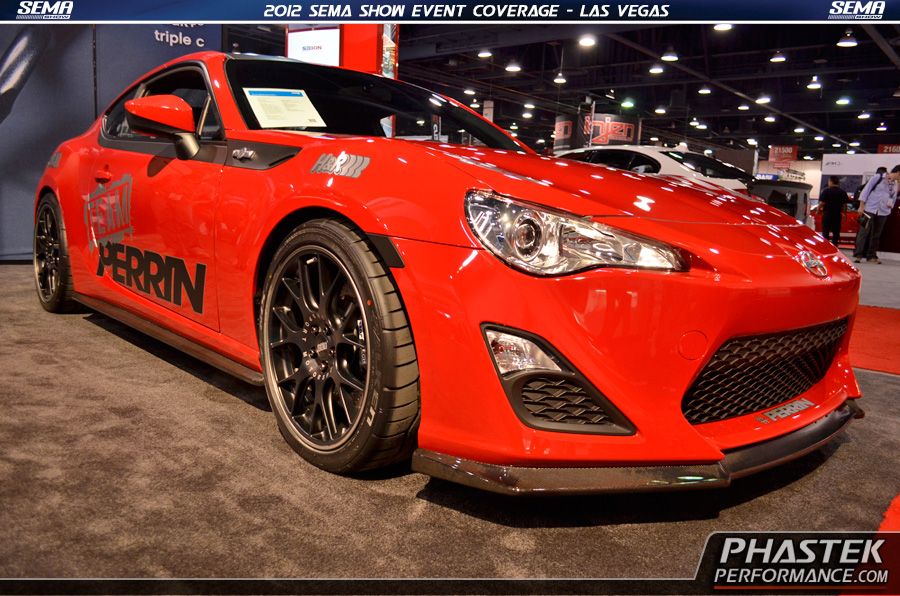
For our 2012 SEMA build, we wanted to keep it clean and simple. No lambo doors, no super crazy graphics, but something that we all would drive and not be totally embarrassed in doing so. Besides our our parts our sponsors provided us with some very key parts that would really make our FR-S pop compared to others. The H&R springs, BBS wheels, Falken Azenis Tires, Charge Speed Body kit and Stoptech brakes, were key to making our full catalog of PERRIN parts really stand out as well as the car.
Here is a quick glimpse into what we did to get to the point of the final product.
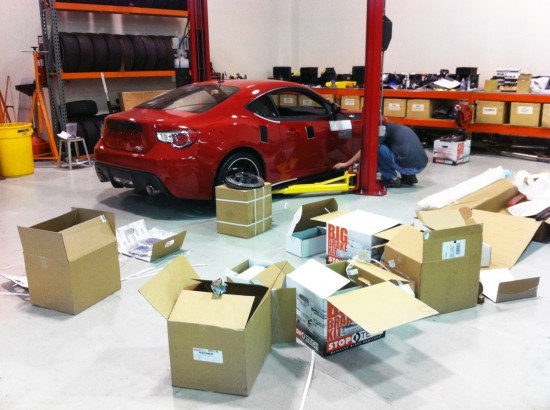
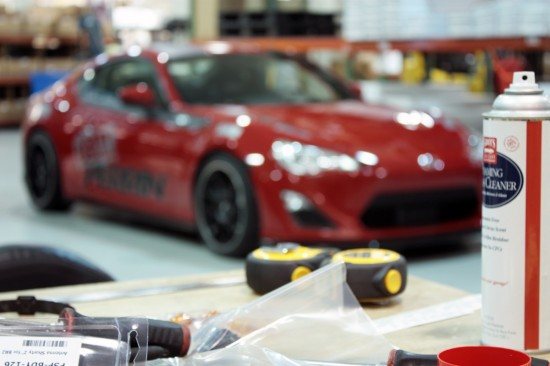
About a week before our ship date, all the parts finally showed up!
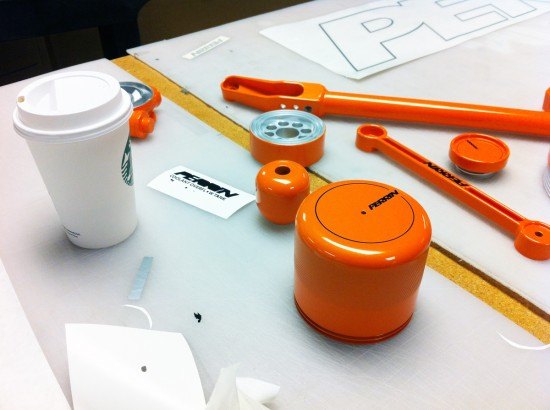
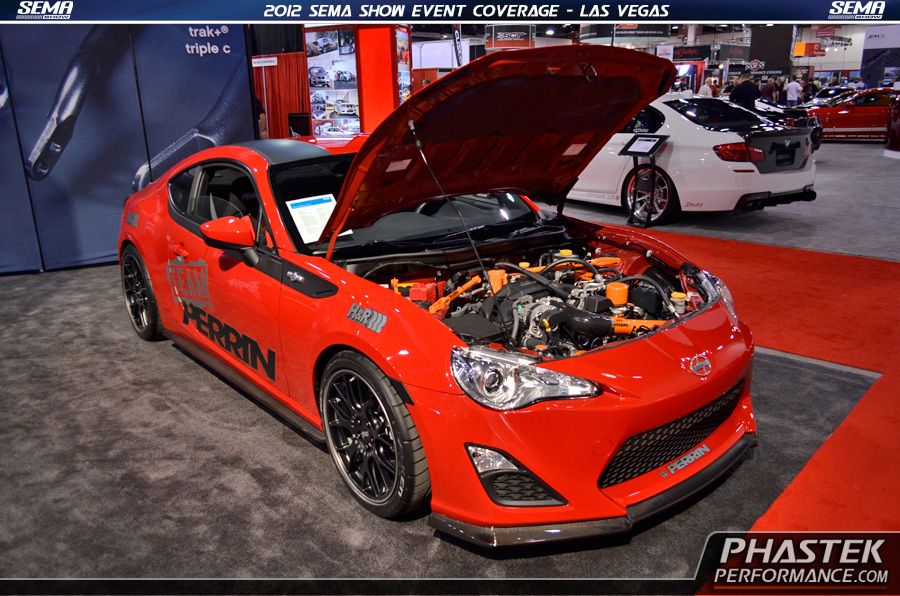
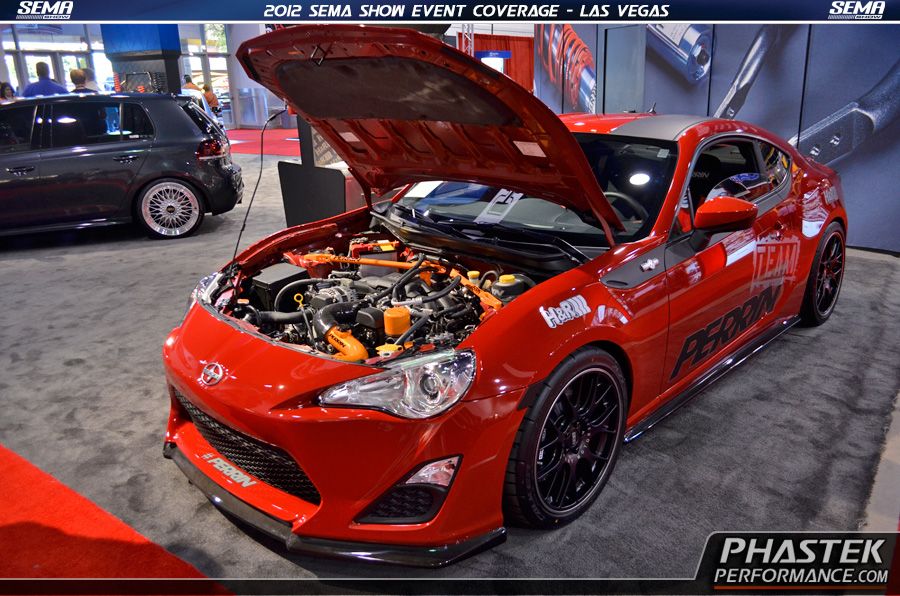
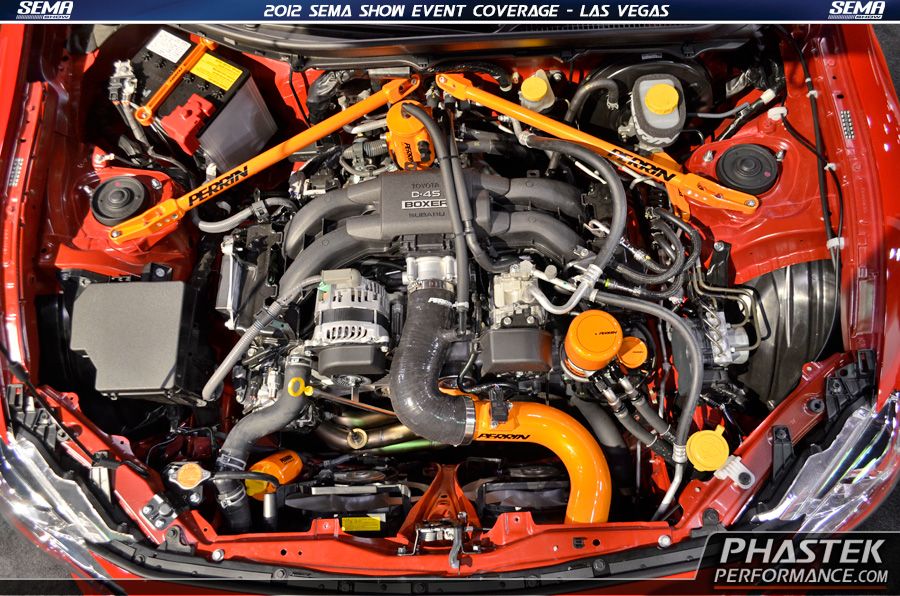
We started with the easy things which is bolting on our parts. We choose to make them a two stage orange color to really things stand out when the hood was opened.
You can see our Master Cylinder Support Brace and a set of prototype Strut bars!
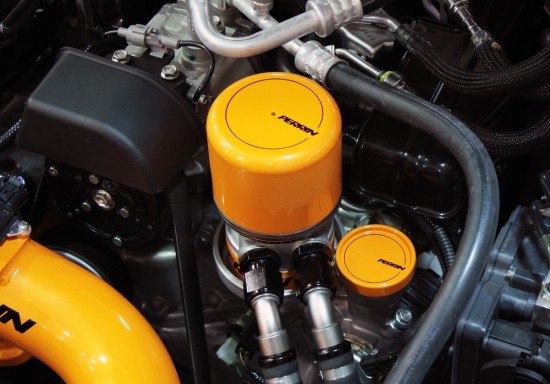
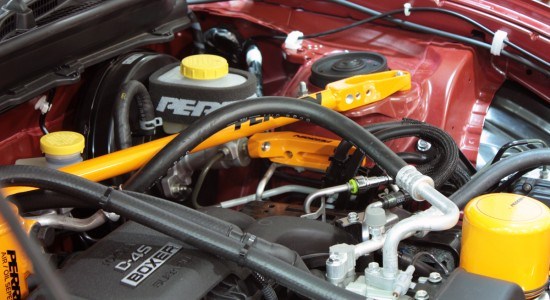
A good shot of our oil cooler (vital to your BRZ/FR-S's engine life) as well as our new oil fill cap.
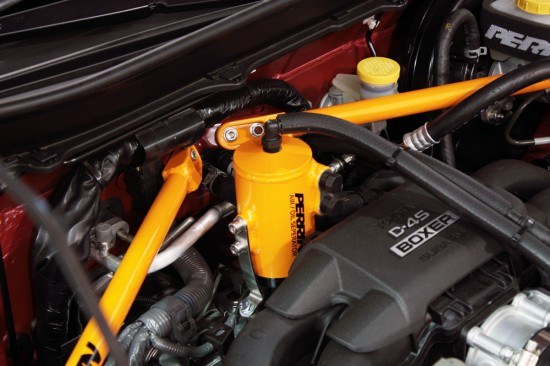
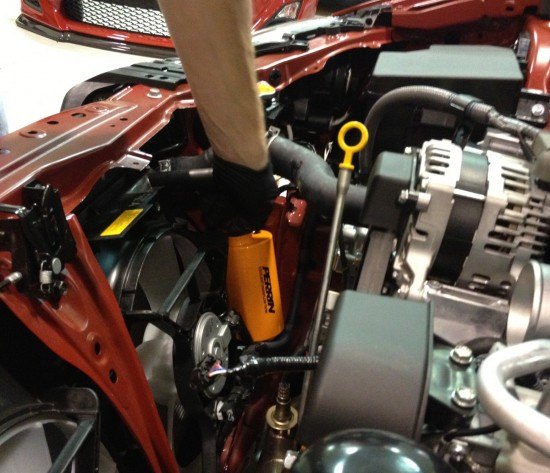
Our Air Oil Separator was mounted in a quick fashion with some existing brackets. You will find out much more about this shortly!

A shot of our whole intake system, including the inlet hose and the actual cold air intake system.
A coolant overflow tank was mounted as well. This is an old part for us, but a new application.

Yes, that is a crank pulley and battery tie down in the picture as well!
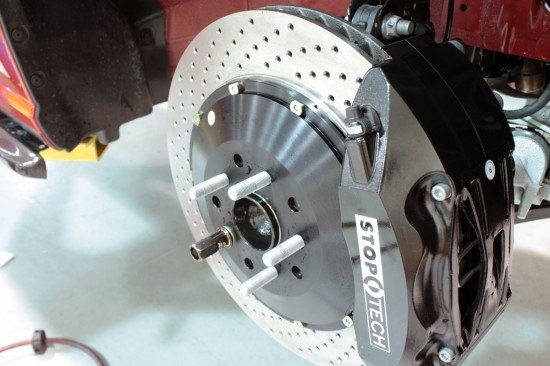
Next up is the brakes from Stoptech. These things are huge!
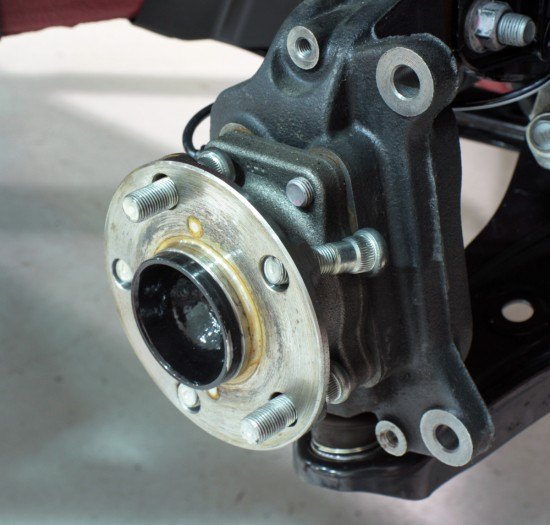
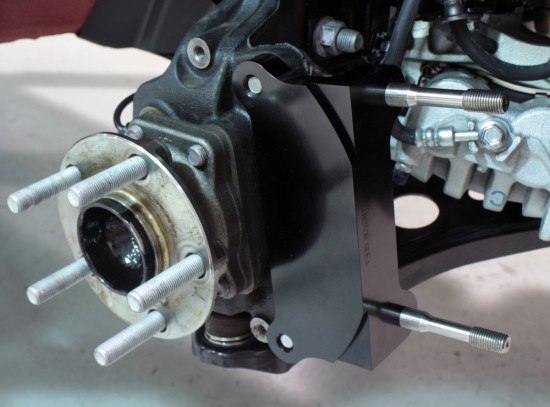
Since were were installing some H&R wheel spacers we had to replace the wheel studs, which is a simple task. Hammer them out, screw the long ones and in and done!
A cool shot of the Stoptech Brake Bracket.
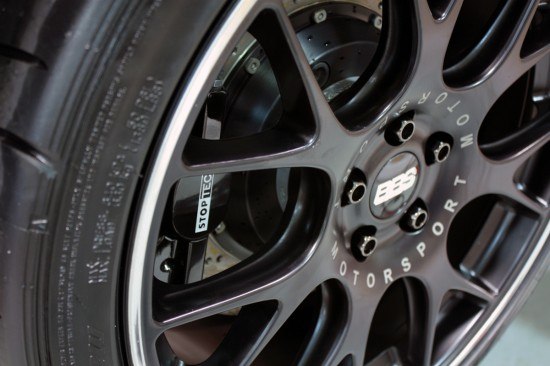
18's are required to fit over these bad boys!
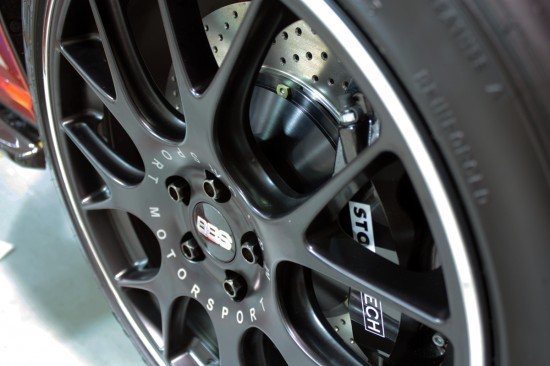
The BBS wheels are perfect fit for our clean look/race car we were going with.
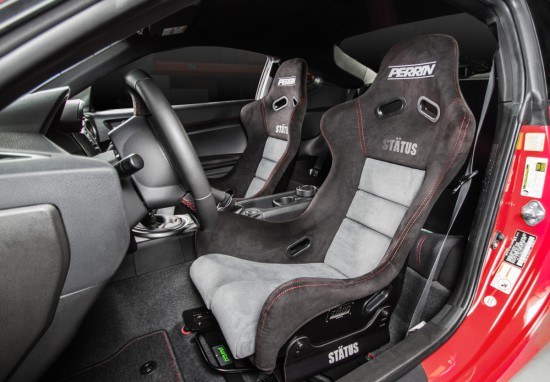
Another sponsor for us is Status Racing. They manufacture seat in the USA (rare these days) and make a very high quality product as well.
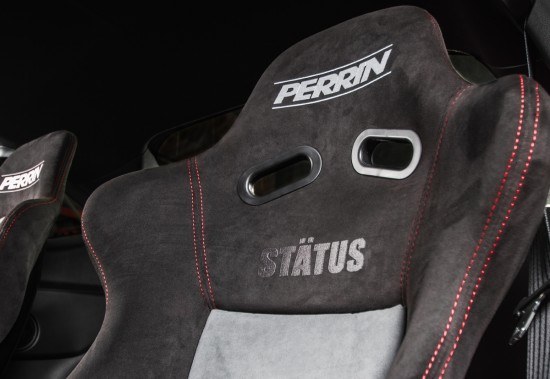
Our color sceme on these custom seats are our company colors, which go perfect with the Red FR-S.
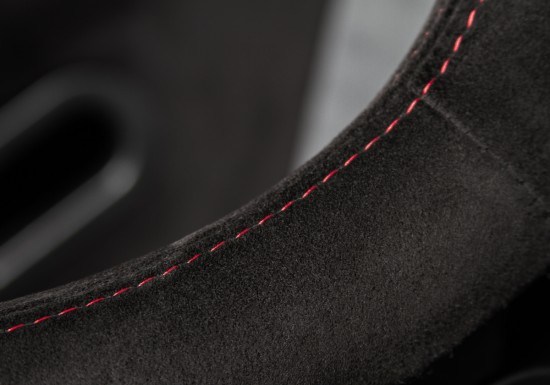
Ultrasuade used through out the cover...
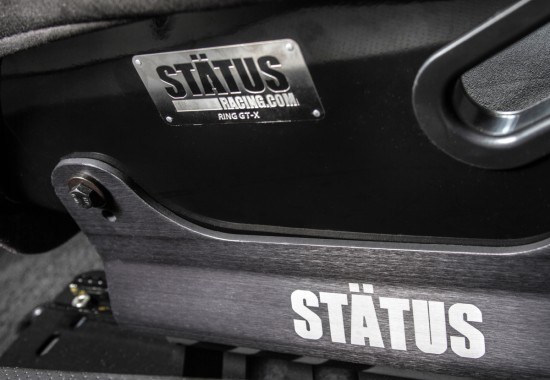
These brackets and sliders that were provided were some of the nicest ones I have seen. The base plate and sliders typically are garbage on these kinds of things. Not here!
With the mechanics of the car all done, it was the hard part. The outside!
Graphics are the hardest thing to really work out. We started on this by just making a few of all the stickers we think we would use.

While the guys were messing around with the stickers, we did some testing of using some matte vinyl on a few parts!
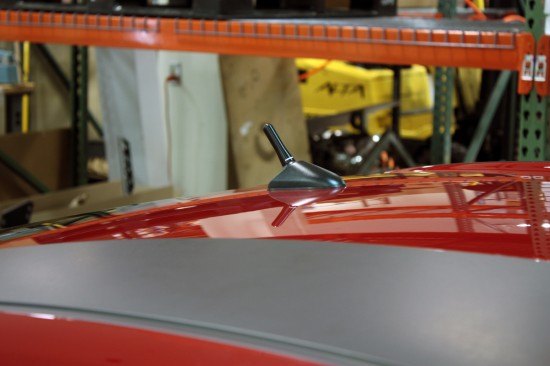
We covered the "bubbles" on the roof that are directly above the driver and passenger. This was a two man job, but went very quick.
This part didn't go so quick...


But in the end it turned out pretty good!
The 5-Axis wing was used to tie off the clean look. Its very very good and for sure one of those must haves for the car.
Installation of this was not super easy. It requires some measuring and actually following directions!
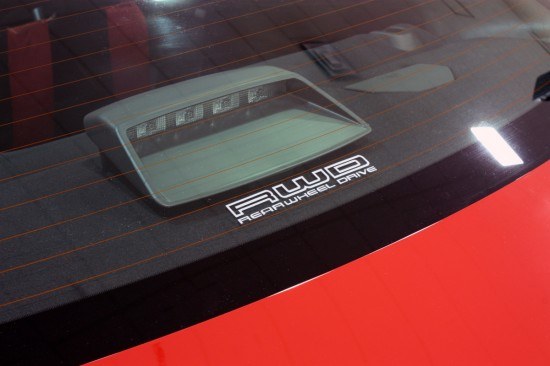
We made this long ago for a WRX we turned into rear wheel drive. WRX customers will understand why this is cool.
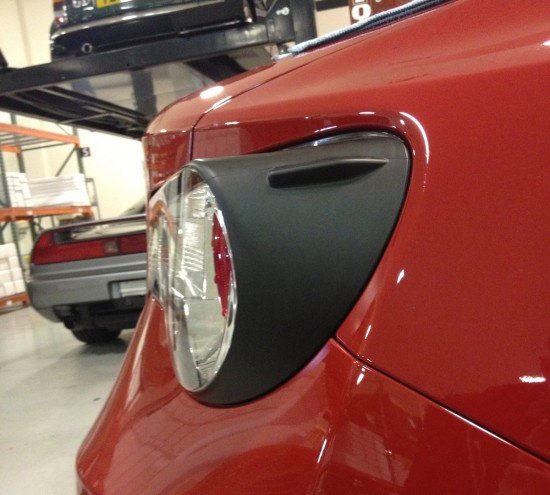
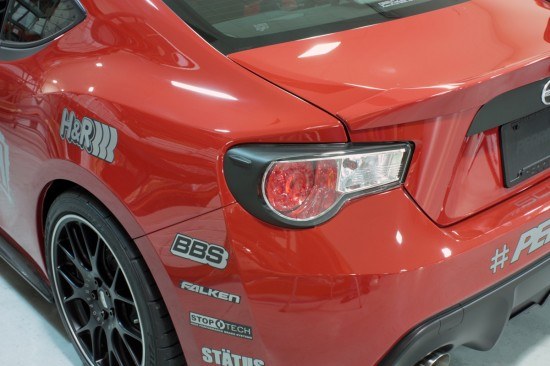
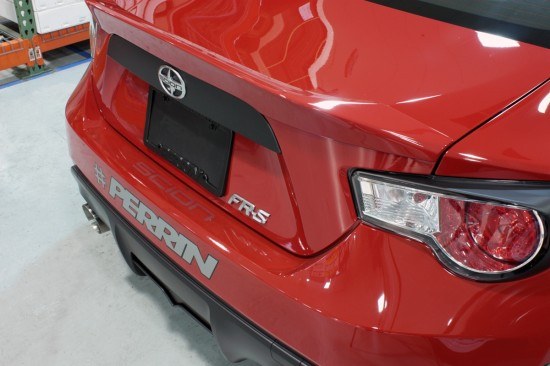
Like a lot of recent cars, the taillights were terrible. Our solution was wrapping vinyl over the edges to take away some of that glaring reflector and chrome look.
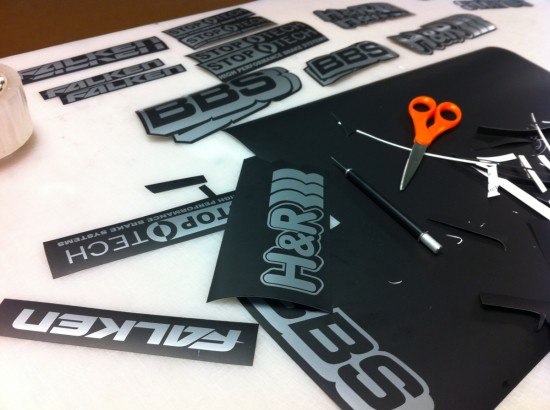
Final sponsor stickers being cut and trimmed. Yes we did some had trimming of these to create the black border.
And here is the final version of the car all done!
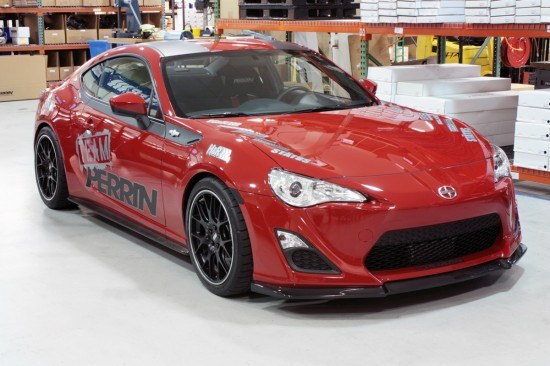
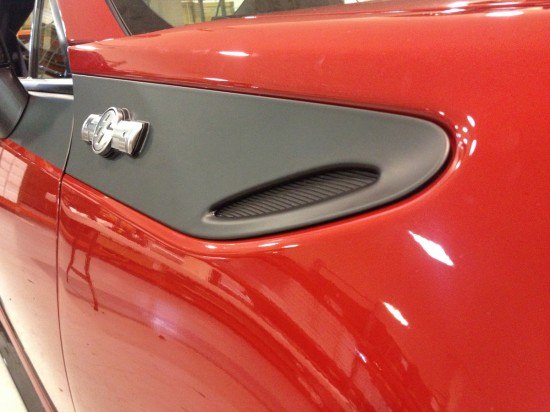
The Charge Speed body kit is perfect for this. Nothing too crazy and fits the lines of the car very well.

No, the pristine Rabbit, Type R and NSX are not part of the SEMA cars we are taking....
So far this years SEMA car was the quickest one we had built (from conception to completion) and at the same time one of my favorites.
http://www.phastekperformance.com/
Here is a great link to some pictures that were taken by Chris at Phastek Performance of our car at SEMA in the H&R booth.... CLICK HERE for the FT86Club post.